Issues Panel
Vantage****Vantage provides a database where you can keep track of concerns raised by customers. To use this feature, please make sure you have the Food-Issues plugin loaded. It has an icon that looks like this:

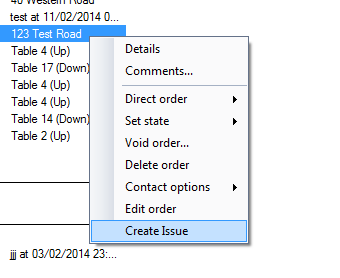
The best way to create an issue relating to an order, is to find the order in another view (for example the waiting orders panel, or the order search panel), right-click on it and click 'Create Issue'.
You will see the issue properties window, pre-filled with all the details of the order you selected:
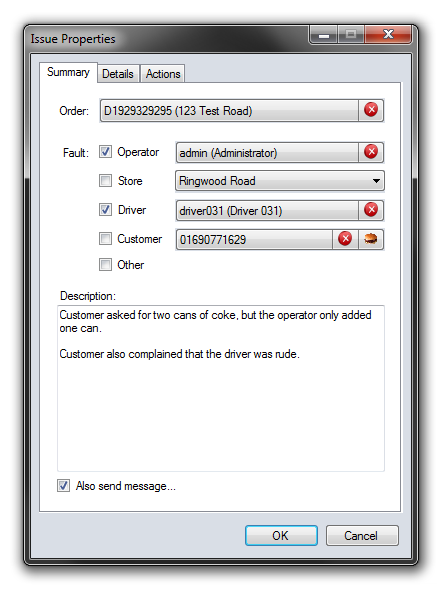
In the example above, you can see that we have also added a short description of the problem. The check boxes next to 'Fault' indicate which parties are responsible for the issue occurring. Note that the relevant details are automatically completed, but by default none of the check boxes are checked. This information is stored with the issue for convenience, but no fault is assigned unless the check boxes are checked.
Assigning fault on an issue is entirely optional. It currently has no consequences within Vantage and is for your information only.
The 'Also send message...' check box will automatically create a message ready for you to send to a user or shop, if you want to do so. If you don't want to send a message, untick this check box.
Move over to the 'Details' tab to tell Vantage what kind of issue this is. An issue can be multiple sub-types. To add a type, click the 'New' toolbar button and select a type. Below, we have added 'Service' and 'Wrong' issue types, because in our example, a wrong item was delivered (Wrong) and the driver was rude (Service).
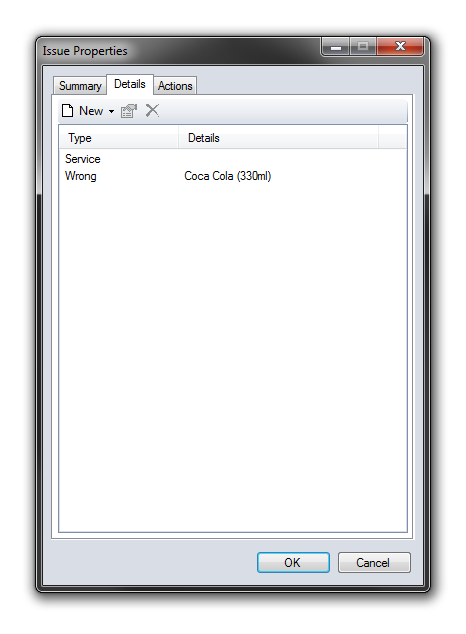
Note the additional specific details on the 'Wrong' item. When you add a 'Wrong' or 'Missing' item, you can enter more specific details. The details window looks like this:
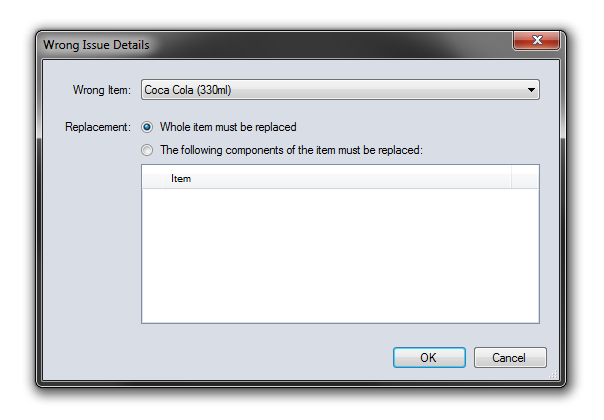
This option will only be available if you are creating an issue from an order.
This is all the mandatory information completed. If you are not in a position of authority to decide how to resolve this issue, simply press OK now and the issue will be saved for a manager to review later.
If you are a manager, or you are allow to suggest appropriate actions, proceed to the 'Actions' tab:
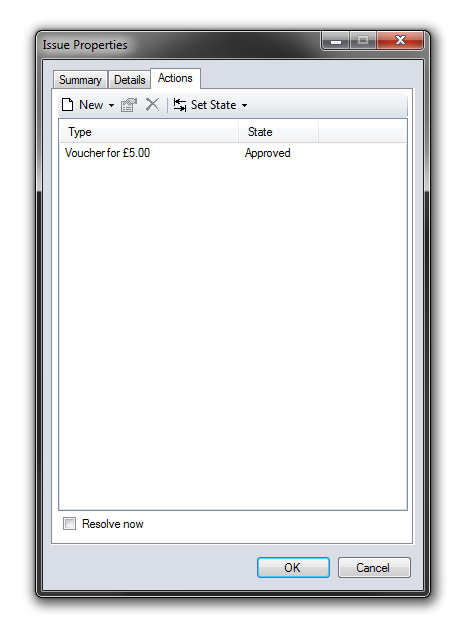
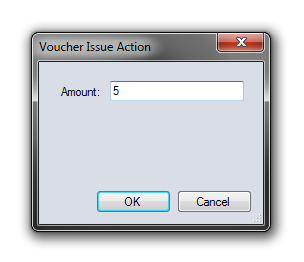
In this example, we have indicated that the customer should be issued a voucher for £5.00. To do this, click the 'New' toolbar button and select an action.
If you are a manager with permissions to issue vouchers, this action will be automatically approved. If you do not have permission, it will be treated as a 'suggestion' for a manager to approve or deny later.
Notice the 'Resolve Now' check box at the bottom of this tab. If you check this box, any approved actions will automatically occur when you press OK. If you do not check this box, the actions will need to be performed later by a manager. In this example we will not check the box, because we will learn how to perform the actions later.
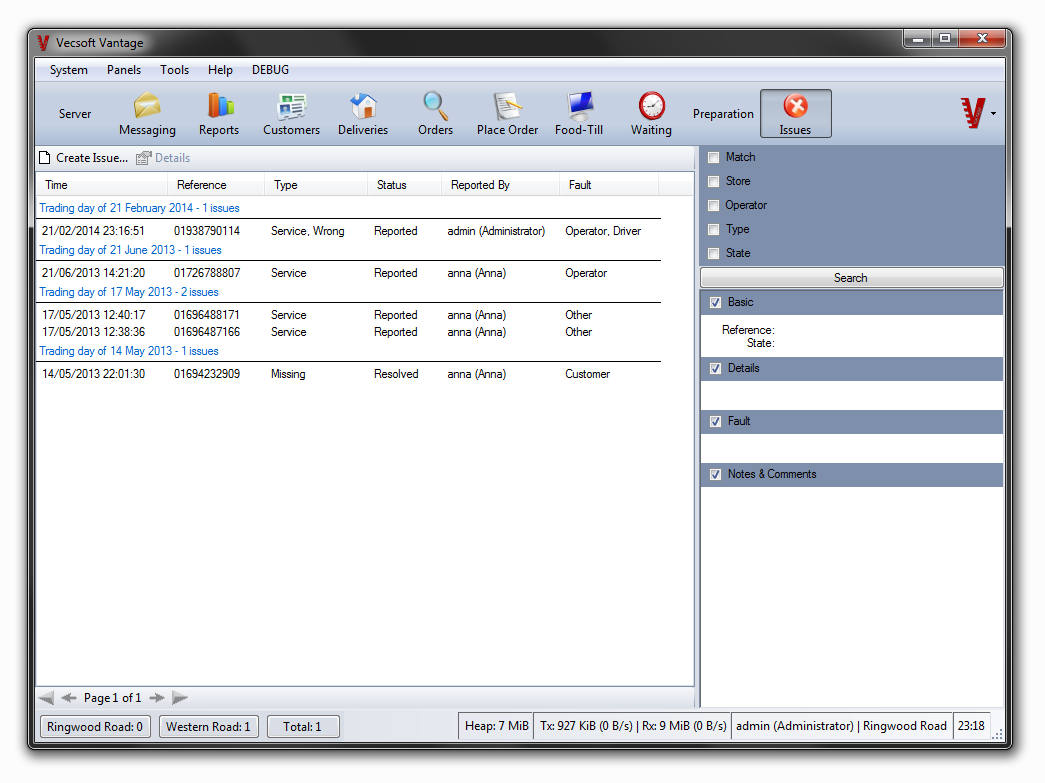
Press OK to save the issue. If you then refresh the issue search results by clicking 'Search' on the right hand side, you will see the issue appear in the results:
Reviewing and Resolving Issues Later
As a manager, you can use the issues search panel to review pending issues at a later time. If you click on an issue, you can see its details in the sidebar.
To mark an issue as resolved, and perform the actions suggested for it (if any), right click the issue and select 'Set Status' -> 'Resolved':
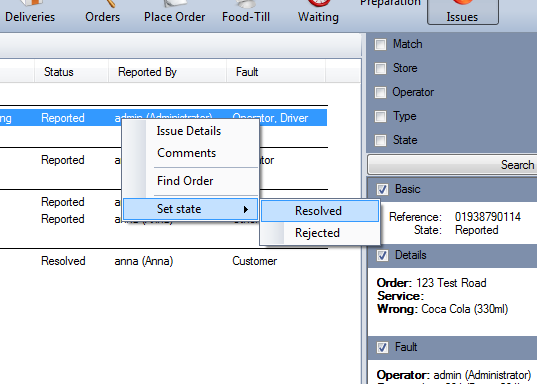
Any approved actions will then take effect. In our example, we issued the customer a voucher. To see that the voucher is issued, we can look in the voucher search tool. You will find this under 'Tools' -> 'Voucher Manager'. Here you can see a voucher for £5.00 has been created:
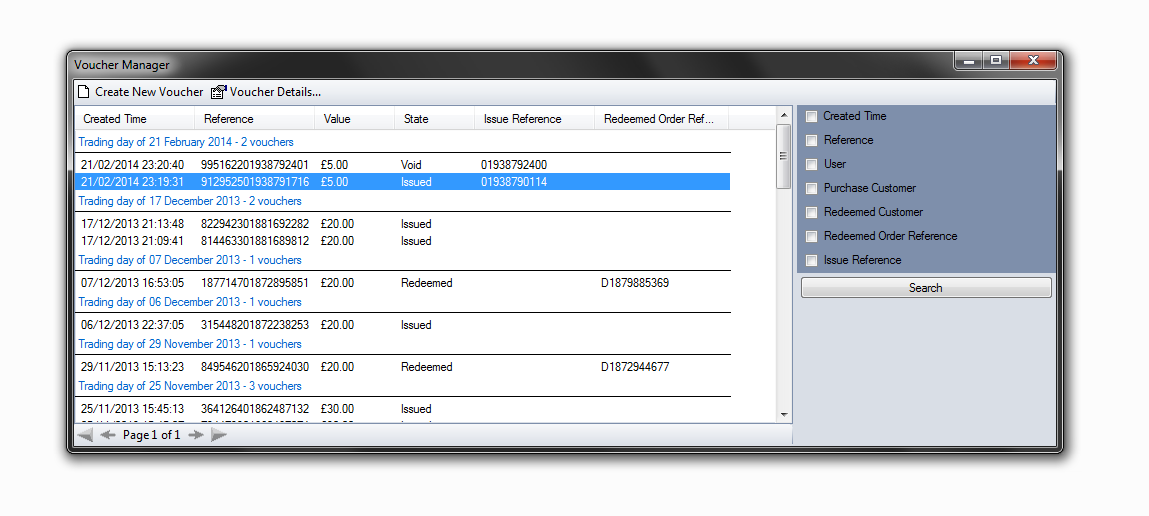
The customer will be able to use the voucher number shown to redeem their £5.00 credit.